Preparing Your Garden Bed: A Step-by-Step Guide for First-Time Gardeners
Getting Started with Your Garden Bed
Creating a thriving garden bed can be a daunting venture, especially for first-time gardeners. However, with the right preparation, your garden will bloom into a flourishing haven. Understanding the essential steps involved can transform this rewarding experience into a successful one.
Why Preparation is Key
Preparing your garden bed ensures you lay the groundwork for healthy plants. The foundation you build will determine the success of your garden. Whether you’re growing vegetables, flowers, or herbs, a well-planned setup makes a significant difference. Here are some crucial elements to consider:
- Soil Quality: Testing your soil is fundamental. Utilize a simple soil test kit available at gardening stores to assess nutrient levels and pH balance. If the soil is too acidic or alkaline, consider amending it with lime or sulfur, respectively. Pay attention to drainage; overly compacted soil can suffocate plant roots, so aeration and the addition of organic matter, like compost, can enhance soil structure.
- Location: The placement of your garden bed can drastically affect plant growth. Aim for a spot that receives at least six to eight hours of direct sunlight daily. Observe your garden space throughout the day to identify sun and shade patterns. If you live in a particularly hot climate, you might want to consider partial shade for delicate plants.
- Bed Type: Your choice between raised beds, in-ground gardens, or containers hinges on your personal preferences, space constraints, and budget. Raised beds can improve drainage and make gardening more accessible, while containers offer flexibility in limited areas. Each option has its unique advantages, so consider factors like depth and size based on the plants you intend to grow.
Each gardener’s needs may differ, but focusing on these foundational elements can provide a robust start. Knowing the climate in your area can also help guide your plant choice. The United States has diverse growing zones, so it’s important to select plants suited to your local environment. For instance, tomatoes thrive in warmer regions, while leafy greens can generally be planted in cooler climates. With this guide, you’ll discover how to properly prepare your garden bed, addressing potential challenges along the way.
Prepare to Dig In!
From soil testing to choosing the right tools, our step-by-step guide will help you navigate the essentials of gardening. Start by gathering basic tools such as a trowel, gloves, and a watering can or hose. You might also consider investing in a compost bin to create nutrient-rich soil amendments at home.
You’ll also uncover practical tips, such as how to enrich your soil through crop rotation and cover cropping. Selecting the perfect plants for your first garden can be thrilling. Begin with easy-to-grow varieties like radishes, marigolds, or basil, which typically yield rewarding results for beginners.
Get ready to dig in and cultivate your green thumb! The journey of gardening is not just about growing plants; it is also about embracing nature and experiencing the joy of watching your efforts blossom into life. As you explore further, keep a gardening journal to track your successes and learn from any setbacks along the way. Each season presents an opportunity to improve your skills and cultivate a deeper connection with the earth.
DIVE DEEPER: Click here to learn about the essential nutrients for your garden soil
Essential Steps to Prepare Your Garden Bed
Once you’ve laid the groundwork for your garden by selecting the right location and bed type, it’s time to get your hands dirty! The preparation process is where the magic begins, and it sets the stage for your plants to thrive. Below are some essential steps to ensure your garden bed is ready for planting:
Step 1: Clear the Area
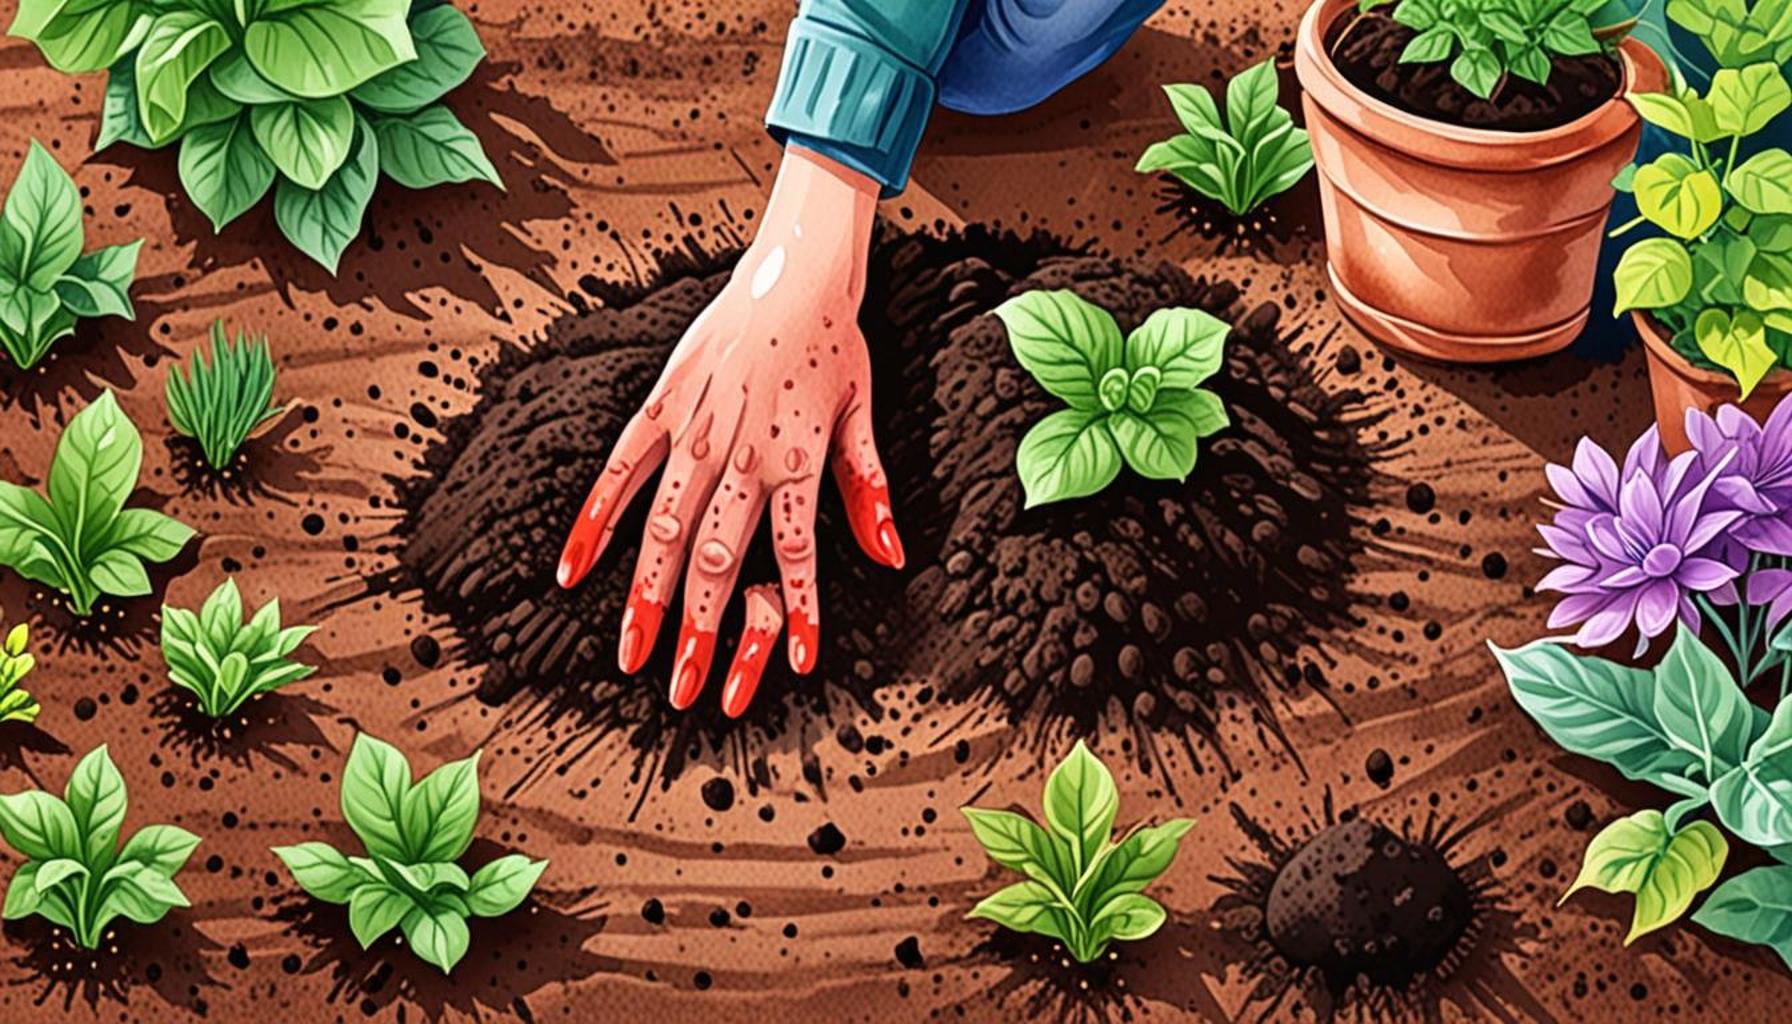
The first step in preparing your garden bed is to clear the area of any existing vegetation, weeds, or rocks. Begin by using a shovel or hoe to remove any unwanted plants or materials from the designated space. It’s crucial to eliminate weeds, as they compete for nutrients and water with your new plants. A clear area not only cultivates healthy growth but also makes it easier to work the soil.
Step 2: Turn the Soil
Once the area is clear, it’s time to turn the soil. This means breaking up the top layer of the earth to improve aeration and drainage. Use a garden fork or a tiller to loosen the soil to a depth of about 12 inches. By doing this, you allow air to penetrate and create a hospitable environment for root development. Turning the soil also helps mix in any leftover organic materials or nutrients from previous crops.
Step 3: Amend the Soil
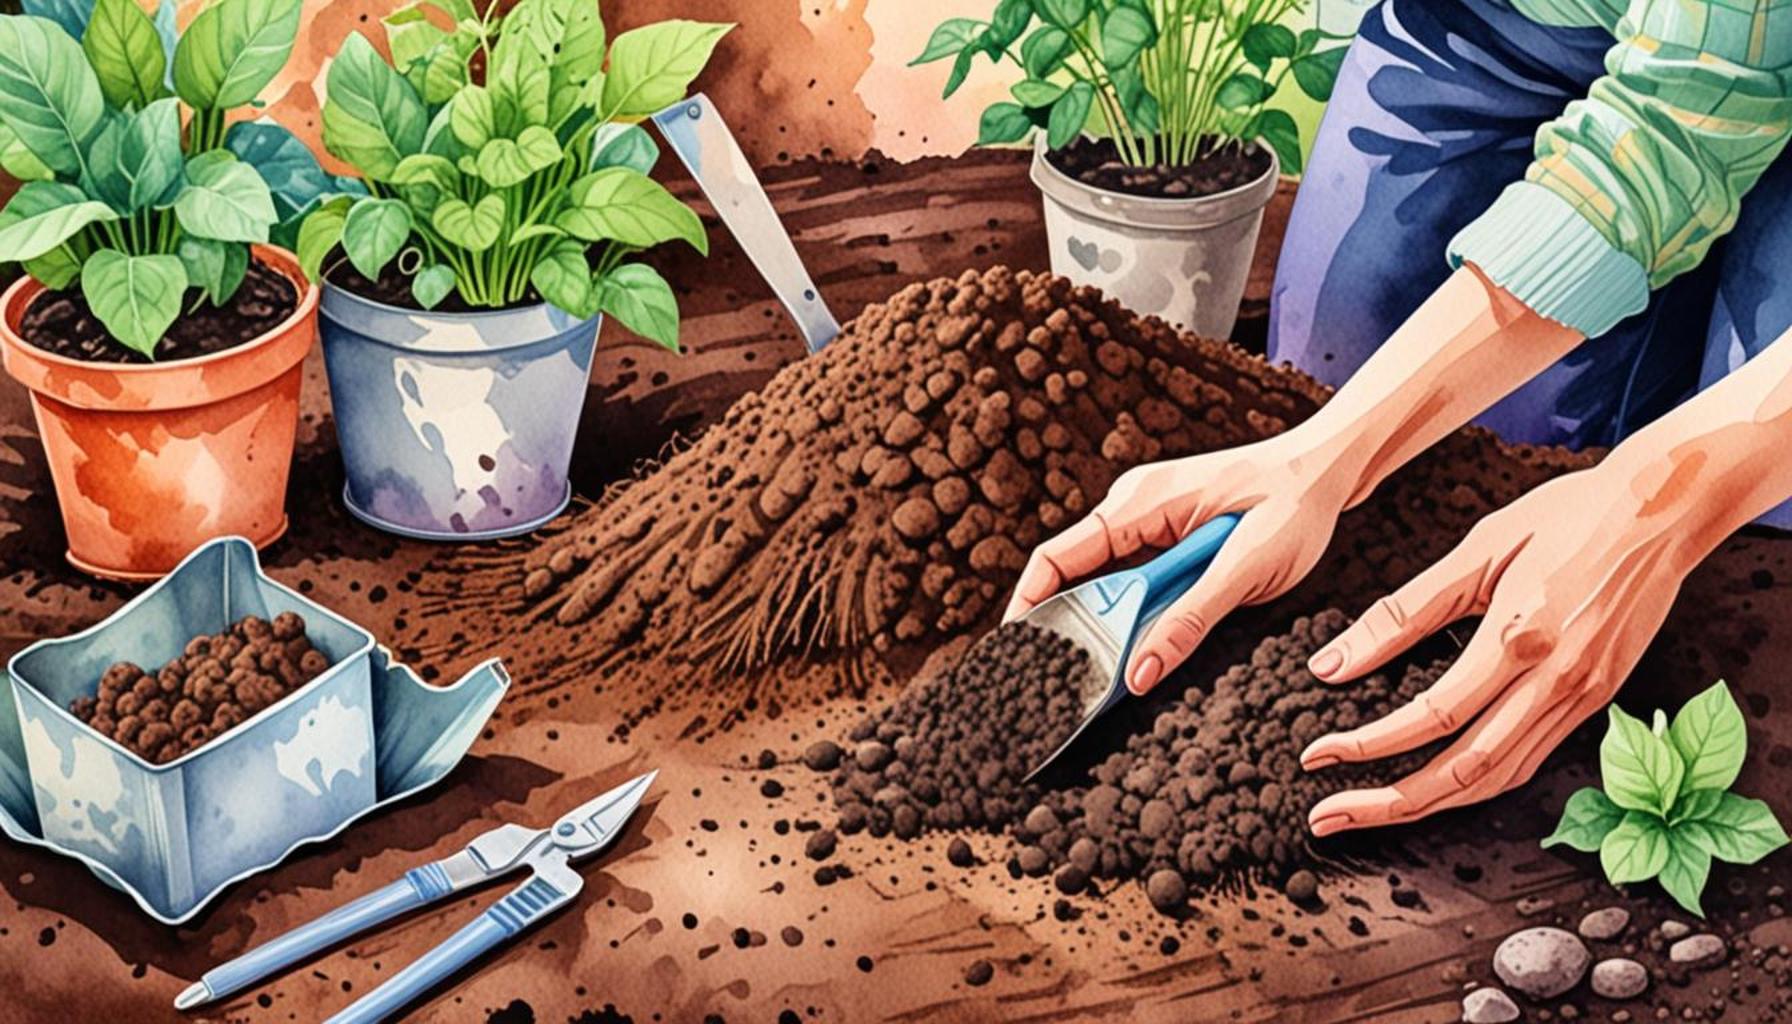
After turning the soil, it’s time to enhance its quality. Consider incorporating organic matter such as compost, aged manure, or peat moss to enrich your garden bed. These amendments improve soil structure, add vital nutrients, and enhance moisture retention. Aim to mix in a 2 to 4-inch layer of organic matter thoroughly into the top few inches of soil.
Step 4: Level the Soil
For even planting, leveling your garden bed is essential. Use a rake to smooth the soil surface, breaking up any large clumps and ensuring an even texture. This step is vital for ensuring that water distributes evenly across the garden bed. Uneven soil may lead to pooling or swift drainage that can adversely affect plant health.
Step 5: Create Your Planting Plan
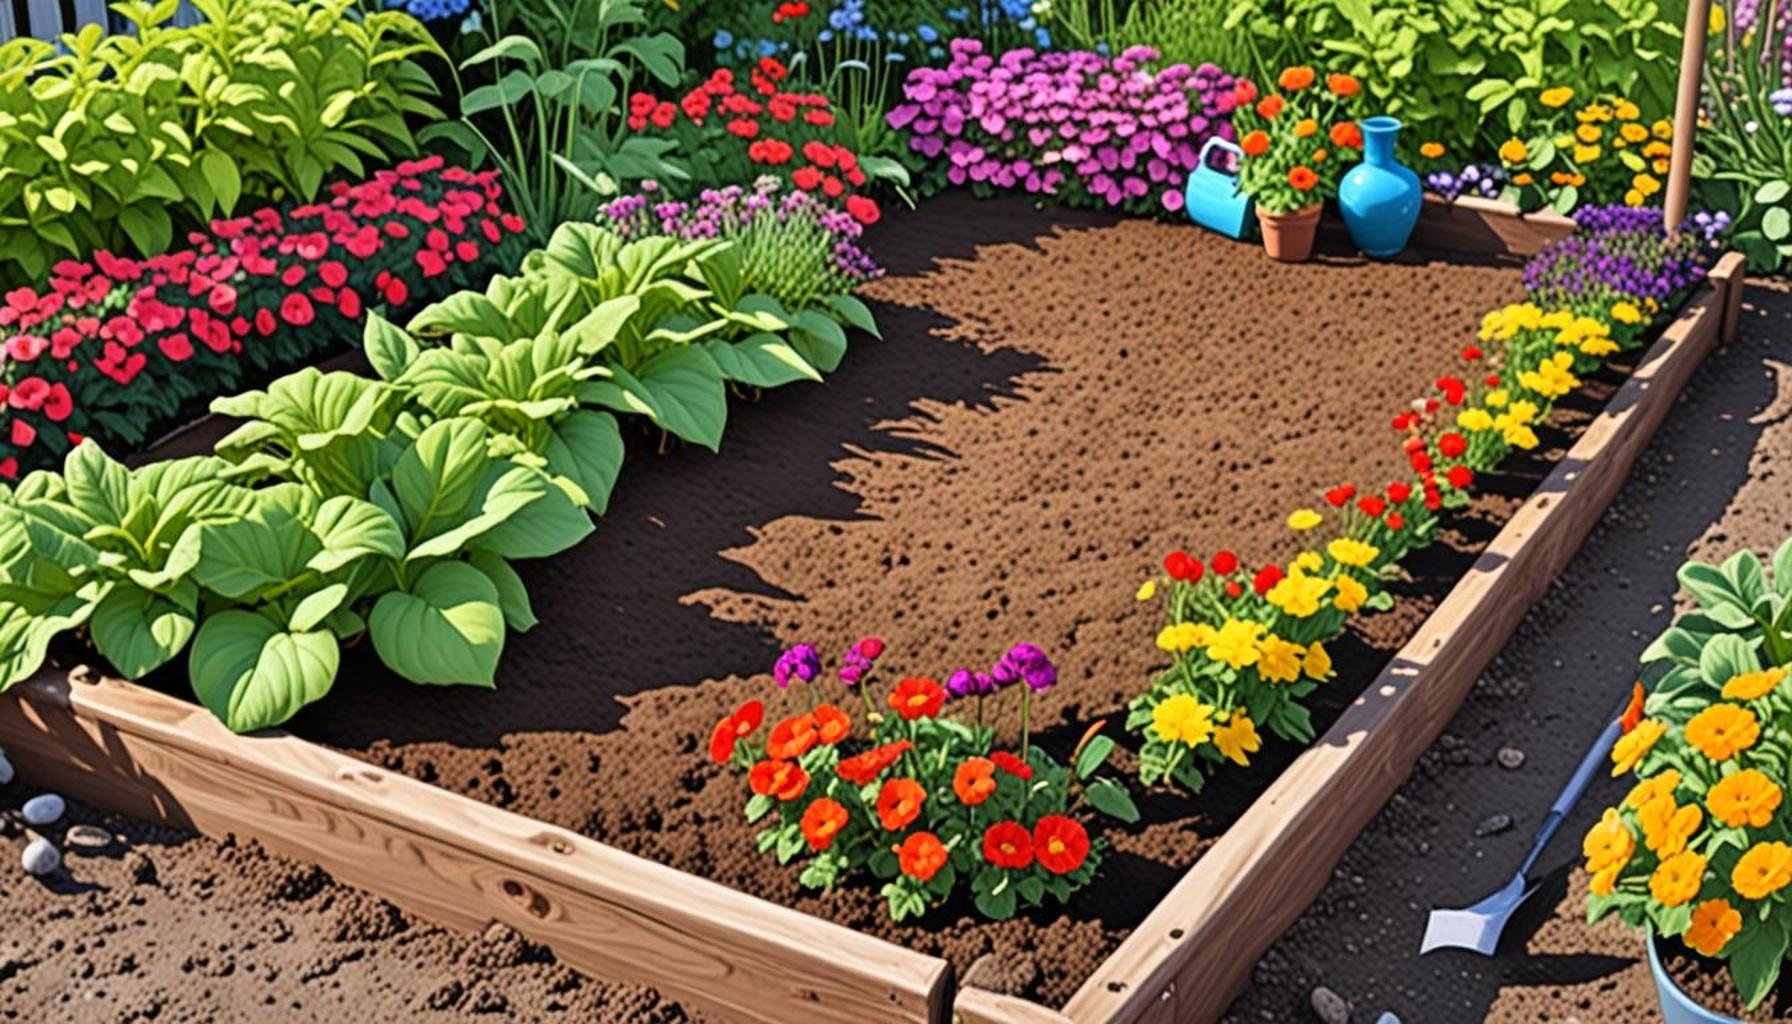
With your bed prepared, it’s time to create a planting plan. Consider factors such as plant height, spacing, and sunlight needs. Utilizing companion planting techniques can also lead to a more productive garden by reducing pest problems and enhancing plant growth. Some popular combinations include tomatoes planted with basil and carrots grown alongside onions. Compile a list of the plants you wish to grow, paying attention to their growing conditions to ensure compatibility.
Step 6: Water the Soil
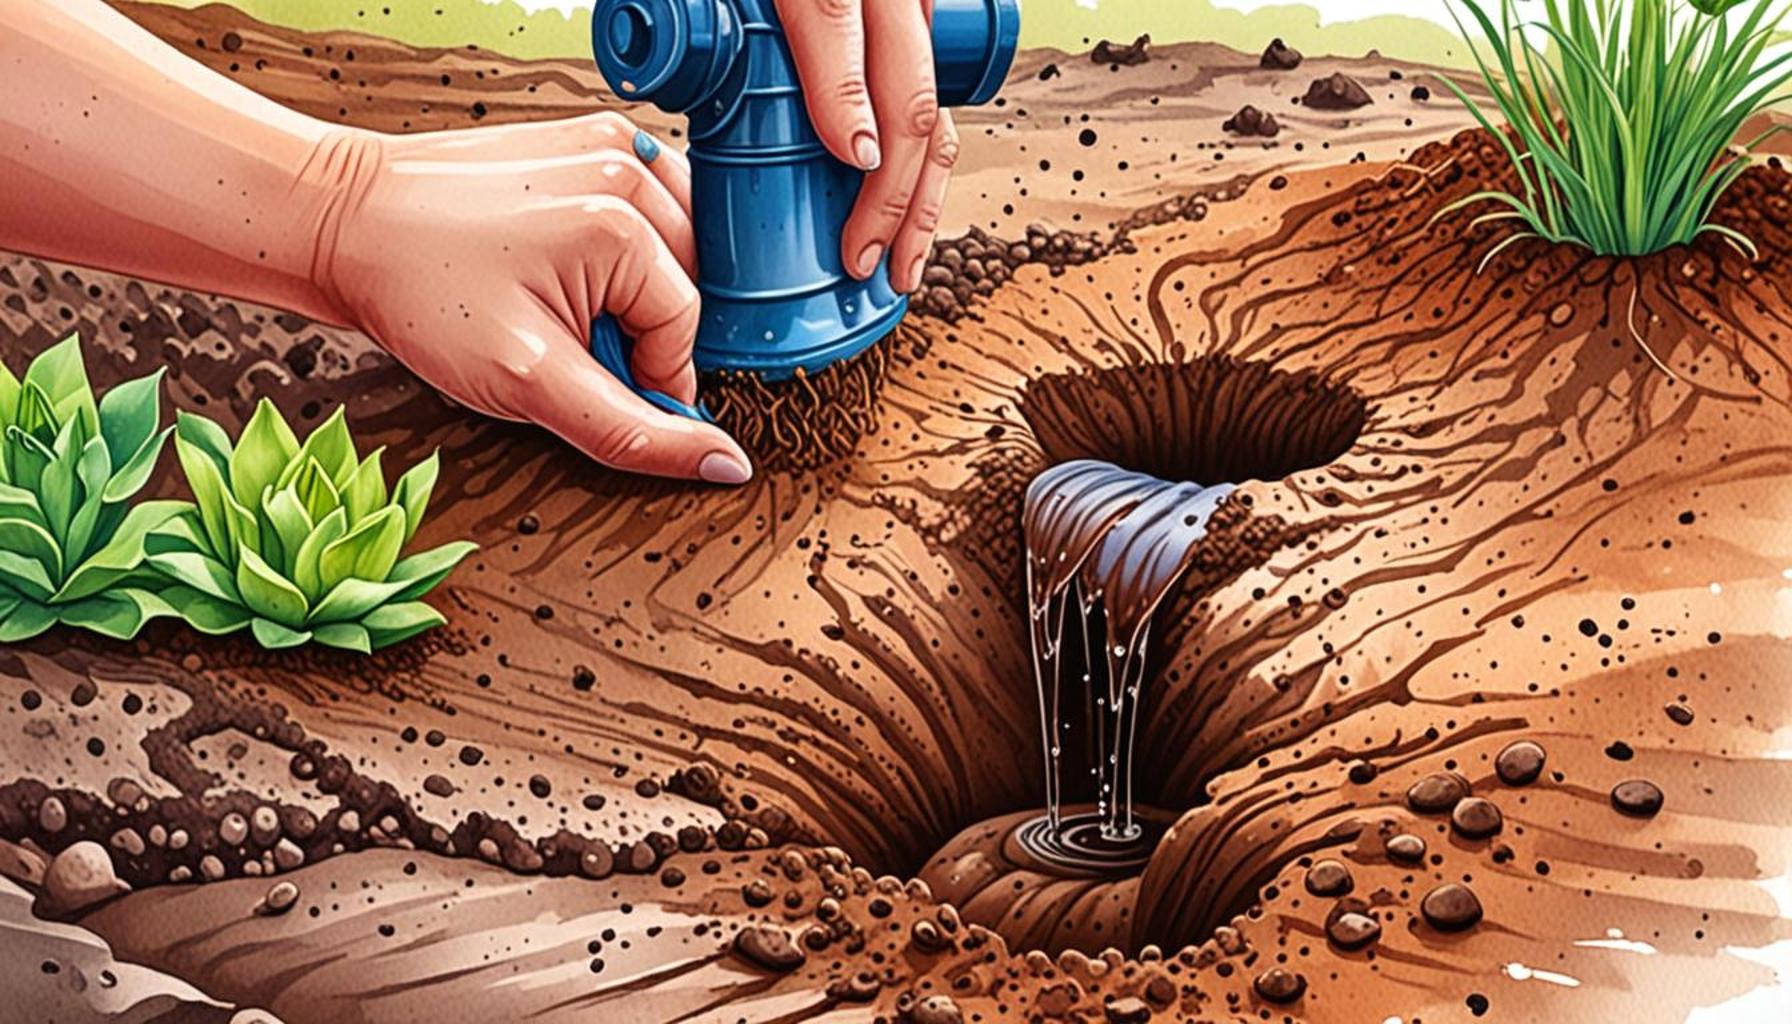
Finally, before you plant, it’s important to water the soil. This helps settle the amendments and creates a hospitable environment for root growth. Water thoroughly but avoid over-saturating the soil, which can lead to compaction and poor drainage. A lightly moist soil is the perfect canvas for your plants to take root and flourish.
With these steps, you will have a beautifully prepared garden bed that encourages healthy plant growth. Remember, taking the time to prepare properly pays off in the long run, leading to a more vibrant and productive garden. Now, you can look forward to one of the most exciting parts of gardening—selecting and planting your first crops!
Preparing Your Garden Bed: Essential Steps for First-Time Gardeners
Starting a garden can seem overwhelming for first-time gardeners, but with the proper preparation, you can set the stage for a thriving garden. One of the most crucial aspects of this process is preparing your garden bed properly. A well-prepared garden bed contributes not only to plant health but also to successful crop yields. Below are important steps you’ll want to consider as you embark on your gardening journey.
1. Choose the Right Location
The first step in preparing your garden bed is to select the optimal location. Look for a spot that receives at least 6-8 hours of sunlight per day. Assess the drainage as well; a well-drained area ensures that plants do not sit in water, which can lead to root rot. It may also be worthwhile to avoid areas with existing weeds or pests, which can hamper your efforts.
2. Decide on the Garden Bed Type
Garden beds can be categorized into various types, including in-ground, raised, and container gardens. For beginners, raised beds may be beneficial as they allow for better drainage and reduce soil compaction. They can also be filled with high-quality soil and compost, giving your plants an excellent start.
3. Clear the Area
Once you’ve decided on the garden bed type, clear the chosen area of any debris, rocks, or existing vegetation. This can prevent competition for nutrients in the soil. Using a shovel or gardening fork, you may also want to break up the soil to improve aeration and promote healthy root growth.
4. Test and Amend Your Soil
Before planting, it’s essential to test your soil’s pH and nutrient levels. Home testing kits are widely available to assess soil conditions. Based on the results, you may need to add amendments such as compost, aged manure, or bone meal to enrich the soil. Well-amended soil improves the ability of plants to absorb nutrients effectively, leading to a vibrant garden.
5. Plan Your Garden Layout
Lastly, consider a strategic layout for your garden bed. Planning the placement of your plants based on their sunlight, spacing, and height requirements will help maximize your gardening space. Grouping together plants with similar needs can optimize water usage and reduce maintenance. Remember that companion planting can also promote healthier plants.
By following these initial steps, you’ll create a solid foundation for a flourishing garden. Remember, gardening is a journey that requires patience, experimentation, and continual learning. Don’t hesitate to explore various methods and seek advice from fellow gardeners to enhance your gardening experience.
| Category | Key Features |
|---|---|
| Soil Quality | A well-amended soil provides essential nutrients and promotes root health. |
| Location | Optimal sunlight exposure and drainage enhance overall plant growth. |
DISCOVER MORE: Click here to learn about soil nutrients
Tips for Successful Garden Bed Preparation
With the essential steps completed, it’s time to delve into additional tips that can enhance your garden bed preparation and ultimately lead to a flourishing garden. While the foundation is crucial, these extra touches can offer a significant edge to first-time gardeners.
Step 7: Test Your Soil
Understanding the quality of your soil is vital. Conducting a soil test is key to knowing its pH levels and nutrient content. Many local agricultural extensions or garden centers offer soil testing kits. A simple home test can be done using vinegar and baking soda. Testing your soil guides you in amending it to suit specific plant needs, whether you need to add lime to raise the pH or sulfur to lower it.
Step 8: Incorporate Mulch
After planting, adding a layer of mulch to your garden bed can greatly improve your garden’s health. Mulch serves several purposes: it conserves moisture, suppresses weeds, and regulates soil temperature. Organic mulches, like straw or shredded leaves, also decompose over time, enriching the soil. Aim for a mulch layer of about 2 to 4 inches, ensuring it doesn’t sit against plant stems to prevent rot.
Step 9: Plan for Irrigation
Irrigation is an essential aspect of successful gardening. Depending on your garden’s size and types of plants chosen, consider options like soaker hoses or drip irrigation systems. These methods deliver water directly to the soil, minimizing evaporation and preventing fungal diseases caused by overhead watering. Efficient watering practices will ensure your plants receive the moisture they need without unnecessary waste.
Step 10: Be Mindful of Timing
Timing can make or break your gardening efforts. Knowing your local last frost date allows you to plan your planting schedule. Many regions in the U.S. have different climates; for example, northern states typically see frost later in spring than southern states. Consult a local planting calendar to determine when to start seeds indoors, transplant seedlings, or sow directly into your garden bed.
Step 11: Rotate Your Crops
Once your first crop season is complete, consider crop rotation for future gardening. This practice involves changing the types of plants grown in the same location each season. Crop rotation helps to prevent soil nutrient depletion, reduces pest infestations, and enhances soil fertility. Start by keeping a garden journal detailing what you planted and where, which will simplify planning for future seasons.
Step 12: Stay Informed
Gardening is as much about learning as it is about planting. Join a local gardening club or follow online forums and social media groups dedicated to gardening. Engaging with fellow gardeners can provide insights, tips, and support, making the experience enjoyable and enriching. Continuous learning prepares you for challenges and helps you discover new gardening techniques.
By incorporating these additional steps into your garden bed preparation process, you set yourself up for gardening success. With proper planning and care, your garden will not only beautify your surroundings but also provide you with fresh produce and a sense of accomplishment!
DON’T MISS OUT: Click here for budget-friendly gardening tools
Conclusion
In conclusion, preparing your garden bed is a rewarding journey that lays the foundation for a thriving oasis of blooms and bountiful harvests. As a first-time gardener, you’ve already taken a significant step by following the step-by-step guide outlined in this article. By understanding the importance of soil testing, incorporating organic matter, and careful planning, you can create an ideal environment for your plants to flourish. Remember, proper garden bed preparation is not just about what you plant, but how you nurture it through thoughtful practices.
As you venture into gardening, embrace the notion of learning from both successes and challenges. Observe how your garden evolves with each season, and don’t hesitate to adapt your strategies. Using mulch, focusing on irrigation, and implementing crop rotation not only bolsters plant health but also fuels your knowledge and experience.
Moreover, the power of community cannot be understated. Engaging with fellow gardeners, whether through a local club or online forums, will enrich your journey. Sharing tips and discovering new techniques can be as enlightening as watching your first seedlings sprout. So, keep your enthusiasm high, embrace continuous learning, and let your gardening adventure be an exploration of nature’s beauty.
Your garden bed is a canvas waiting for your touch—nurtured with care and creativity, it will bloom into a personal paradise. Take the plunge, enjoy the process, and remember that every gardener started just like you!